Alexa Skills
This is an updated version of a previous Echobind blog post. This new version still contains valid parts from the original found here.
Getting Started
The first step in creating an Alexa Skill is signing up for a developer account. Once you are signed up/logged in select Alexa. This will bring you to the Alexa homepage, click on the “Create Alexa Skills” button.
You are now on the Alexa Skills Kit dashboard, click on the “Register Now” button on the right-hand side to navigate to the Developer Console.
If you are not logged in you will notice the button is “ Console” instead of “ Register Now”. You can still click “ Console” and this will bring you to the sign-in page (it will also allow you to sign up if you have not done that yet).
Creating a new Skill
Creating a new skill requires clicking the “Create Skill” button on the right-hand side.
A lot is going on here so let’s break it down.
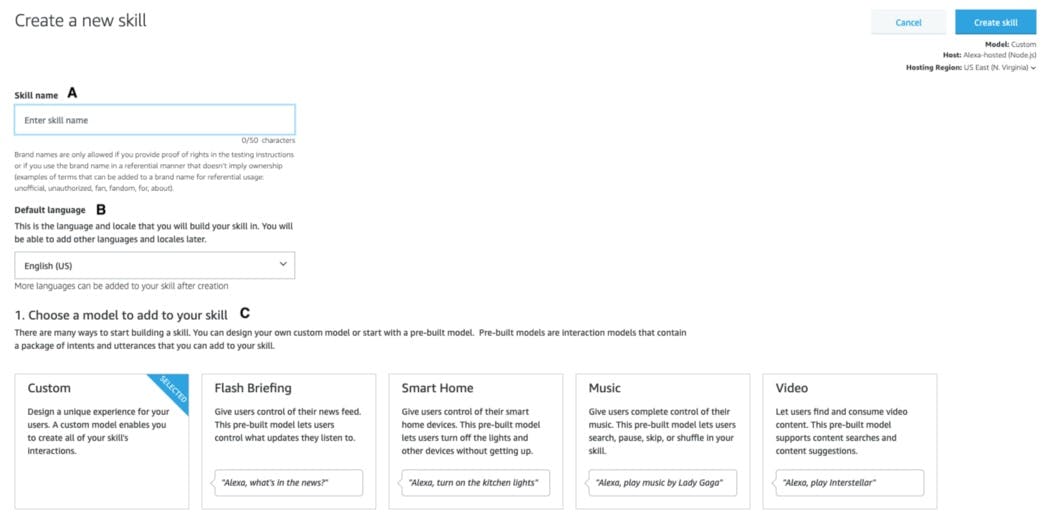
A. This is where we set our skill name.
B. Default Language — This is our skills default language(English). We can add more later.
C. Model — There are a lot of really great pre-built skills. We are going with the Custom model; it allows us to create a custom model with the required skills and a Hello World skill.
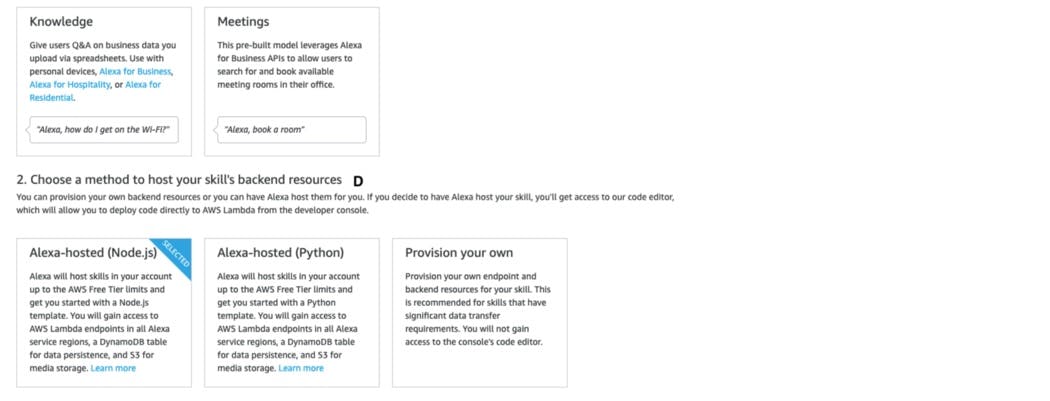
D. Method — Skills require hosting; you can either have Amazon host them or handle them yourself. Node.js, Python, and Provision your own are the methods you can choose from. Select Provision your own since we are connecting our skill to our Rails application.
Click “Create Skill”
Choosing a Template
The templates provided by Amazon give you a great starting point, we are going to leave it on Start from Scratch and click "Choose"
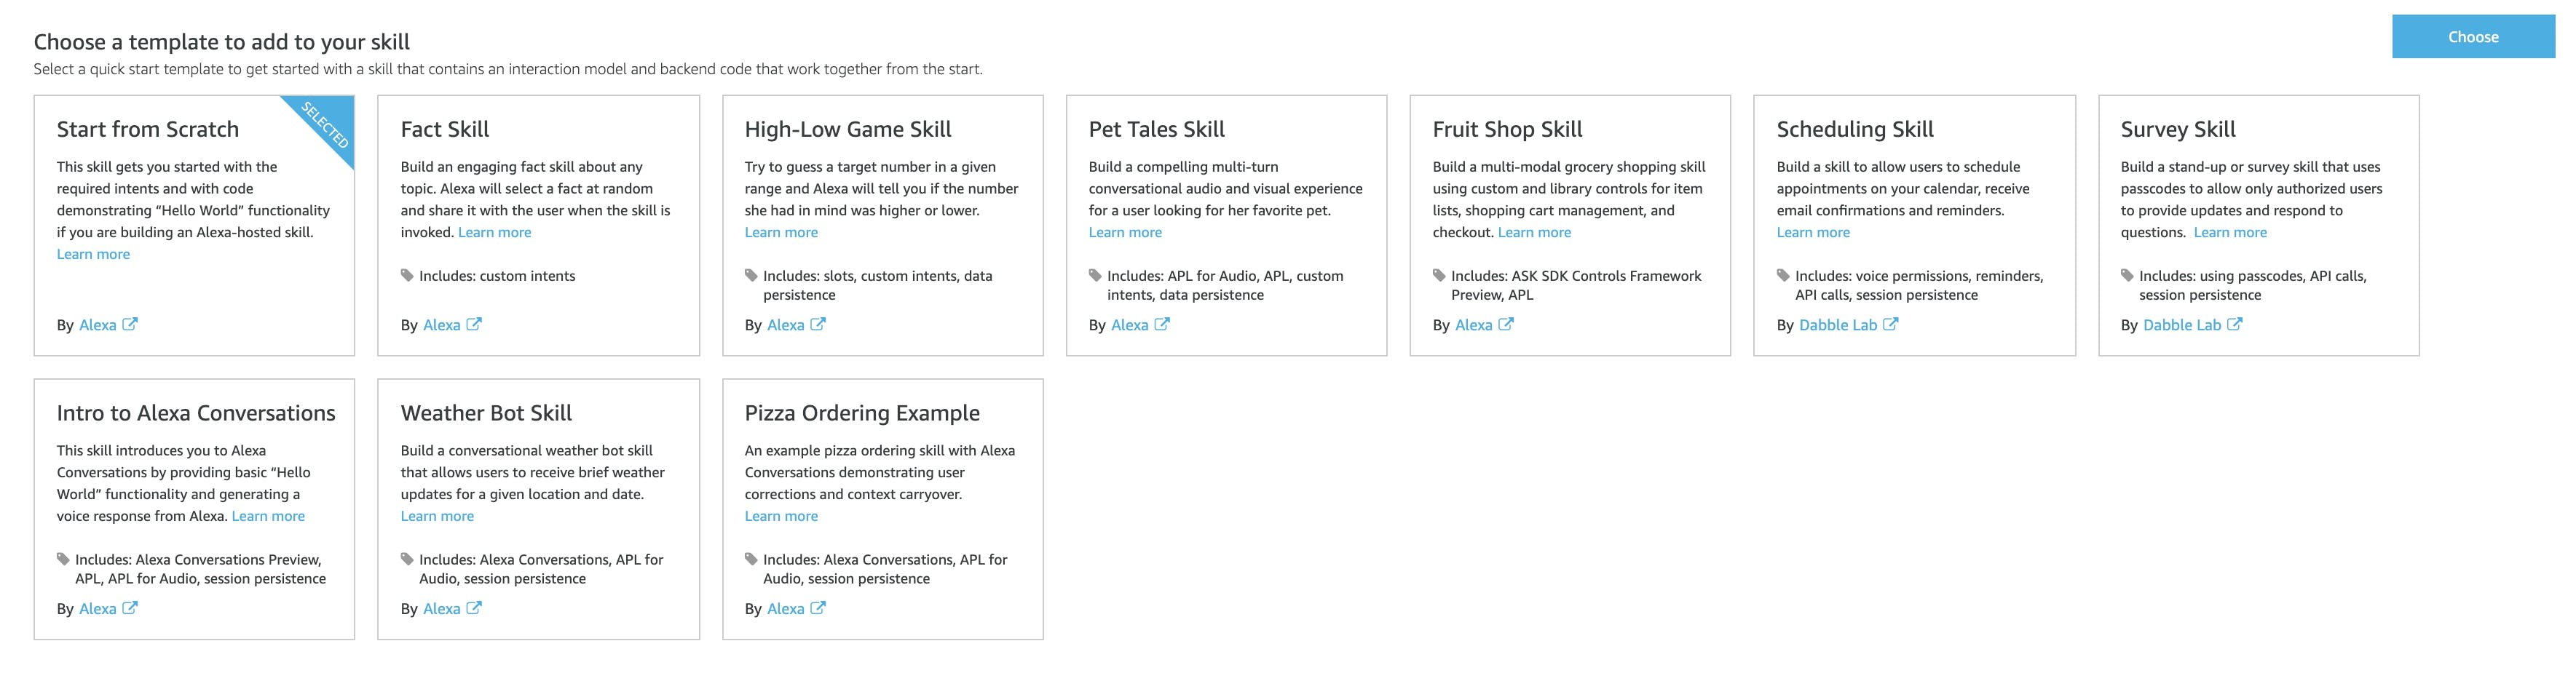
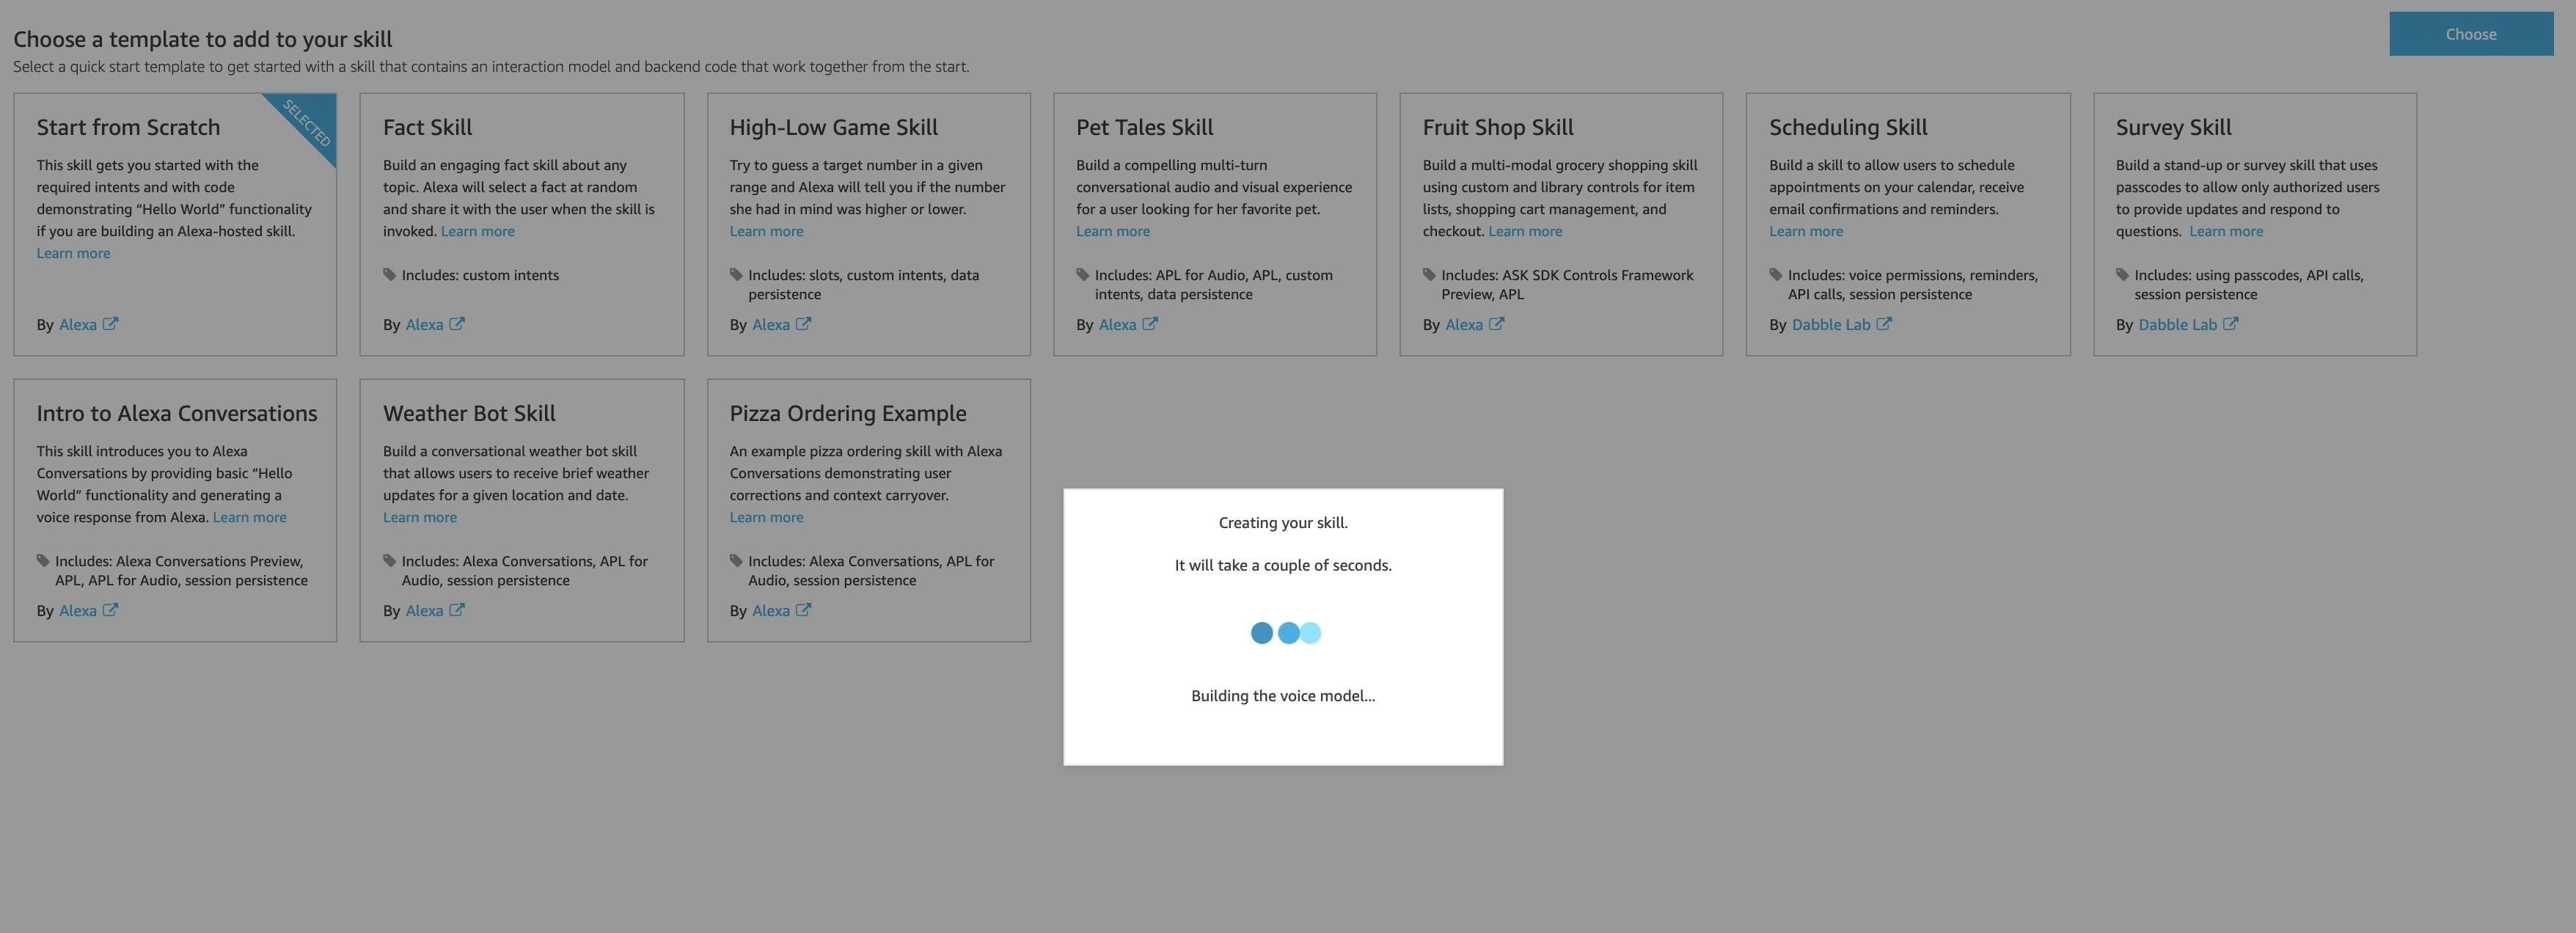
This will start building your skill with everything we selected. Once finished it will forward you to the Developer Console.
Developer Console
The developer console is where the magic happens. It allows us to set everything we need for the skill.
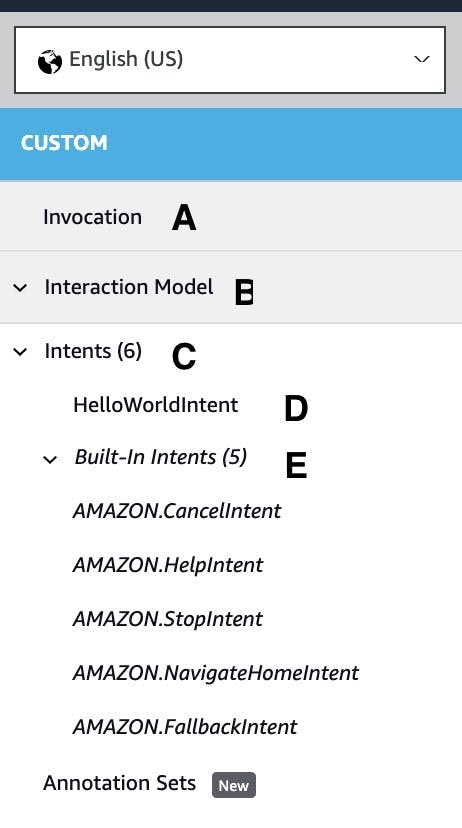
A. Invocation — This is where we set the Skill Invocation Name. The Skill Invocation Name is what the user says to begin interacting with our skill.
B. Interaction Model — This is a combination of utterances, intents, and slot values.
C. Intents — Represents an action that fulfills a user’s spoken request.
D. HelloWorldIntent — This is a really great freebie that we can ignore or even delete.
E. Built-In Intents — These are the minimum requirements for all Alexa Skills. They are not to be removed at all.
Now that we have a better understanding of everything the developer console offers, we can set the invocation name. Click “Invocation” on the left-hand sidebar and let’s continue with the Pokemon theme and name it i choose you.
There are a few requirements for an invocation name:
- Must be all lowercase why? Well, simply put Alexa is going to take any response and make all the characters lowercase. This is going to be important when we tell Alexa we want to interact with the new skill.
- Must be at least two words.
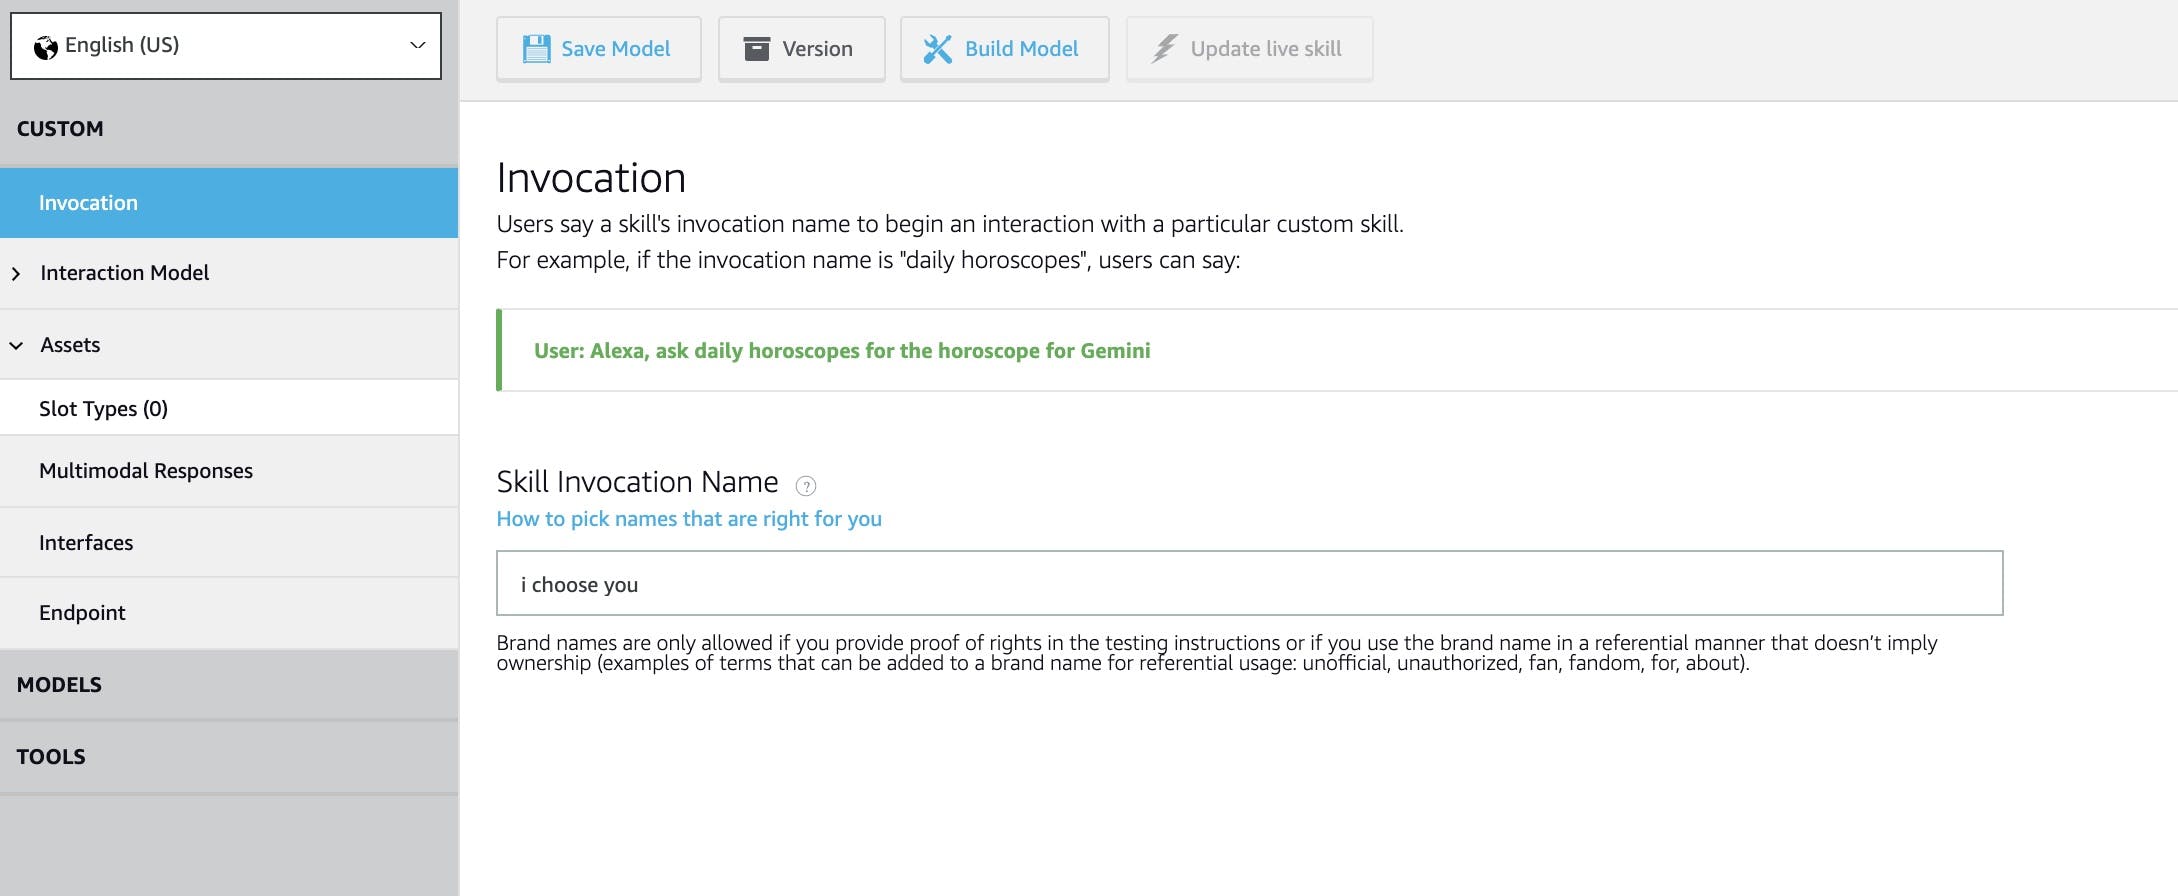
Now that we have the name click “Save Model” and wait for the confirmation alert on the bottom right-hand side of the site. Once the save is finished click “Build Model”. This is required for all new changes to take effect. The bottom right-hand side will display a small alert letting us know if the build was successful or not.
Intents
Intents are nested under the Interaction Model dropdown. Click "+ Add Intent" to do just that.
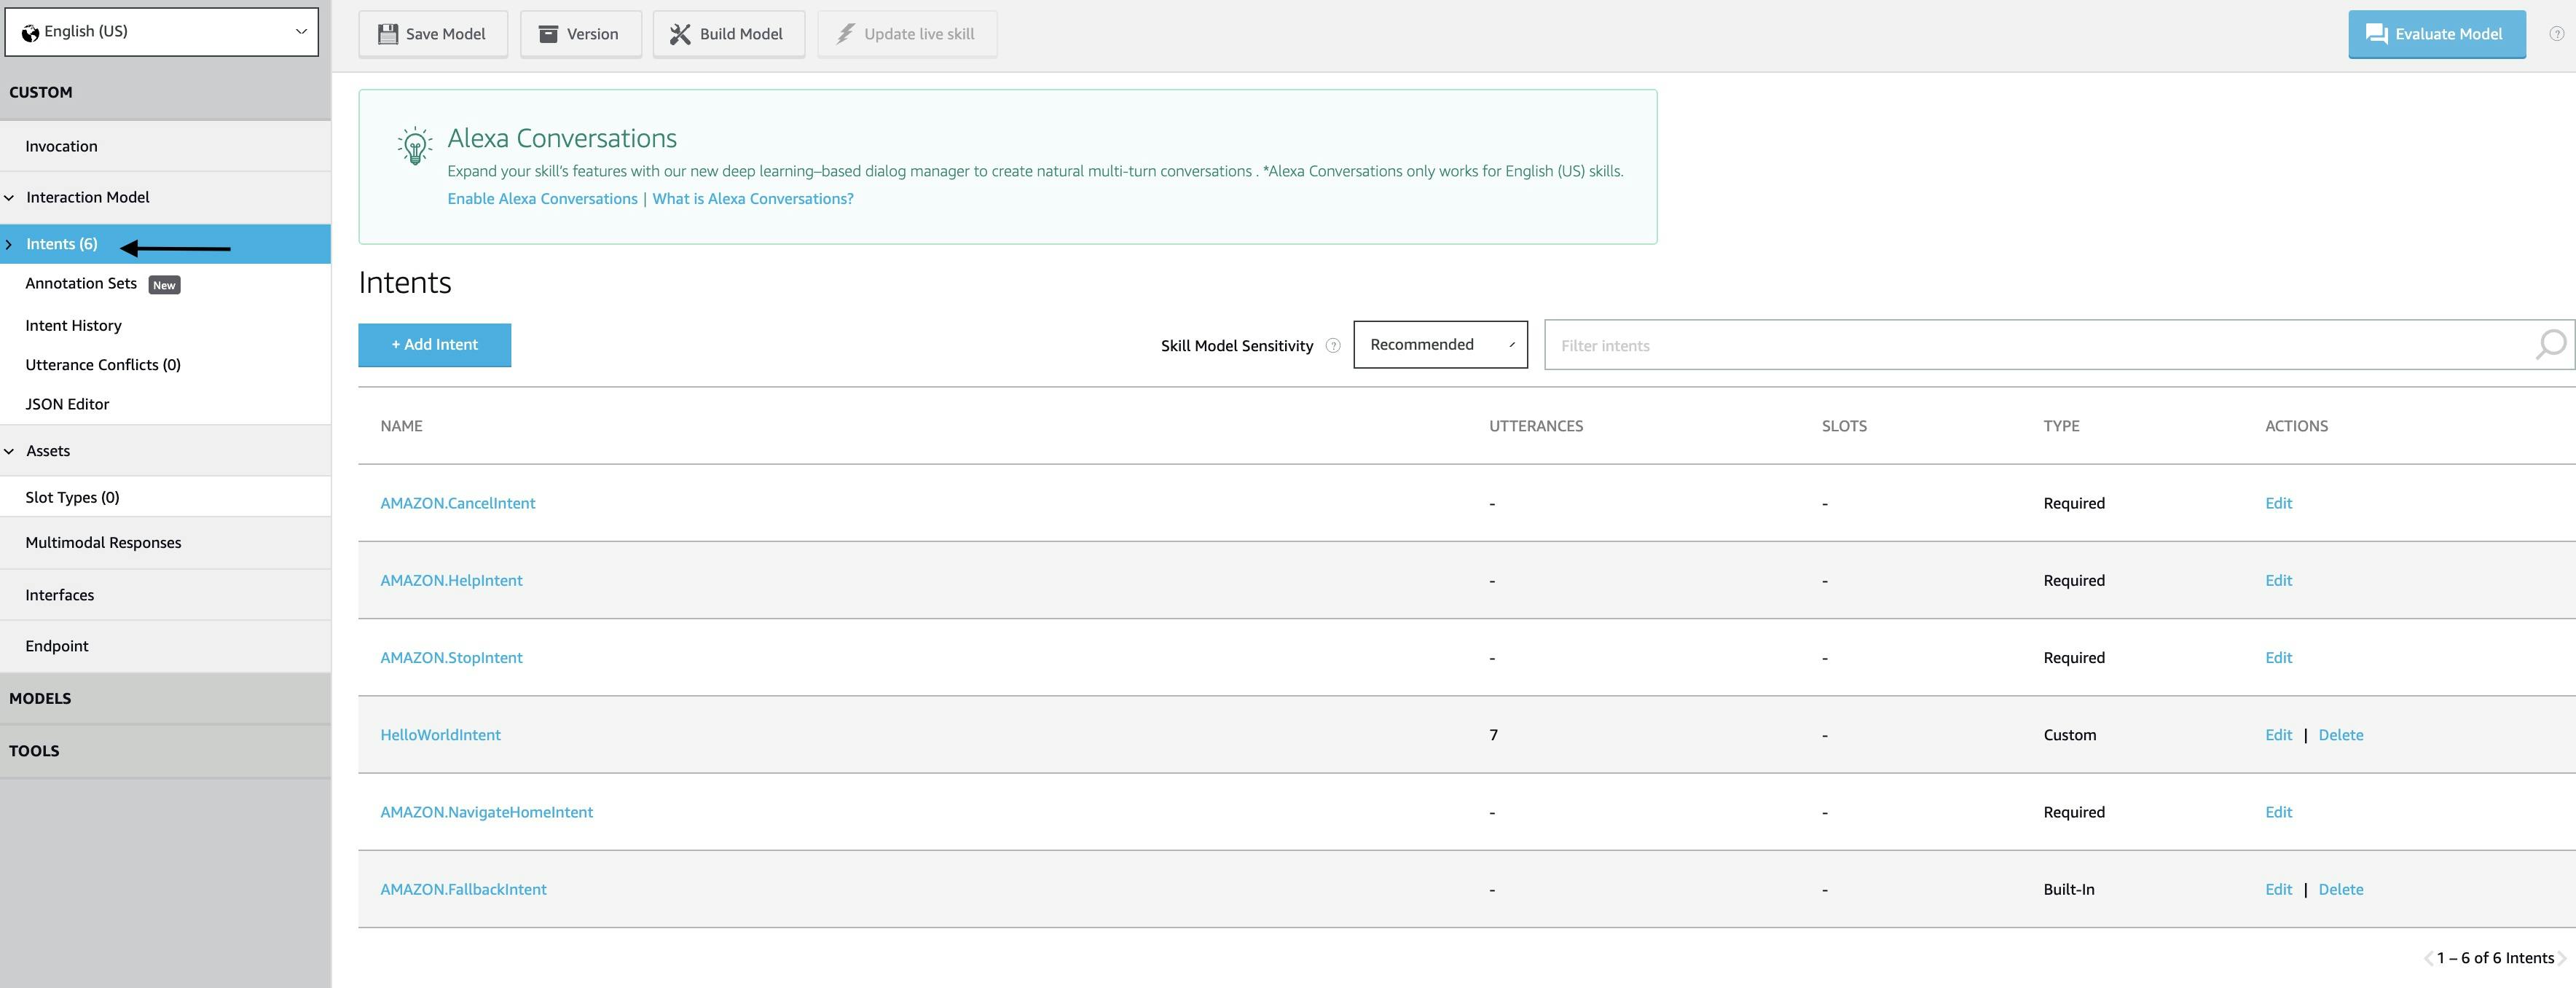
We are going to keep this part simple with only a couple of intents. For more information on intents, see this section of the Alexa documentation. Intents are always PascalCased. Once you add the name click “Create custom intent” to begin adding utterances.
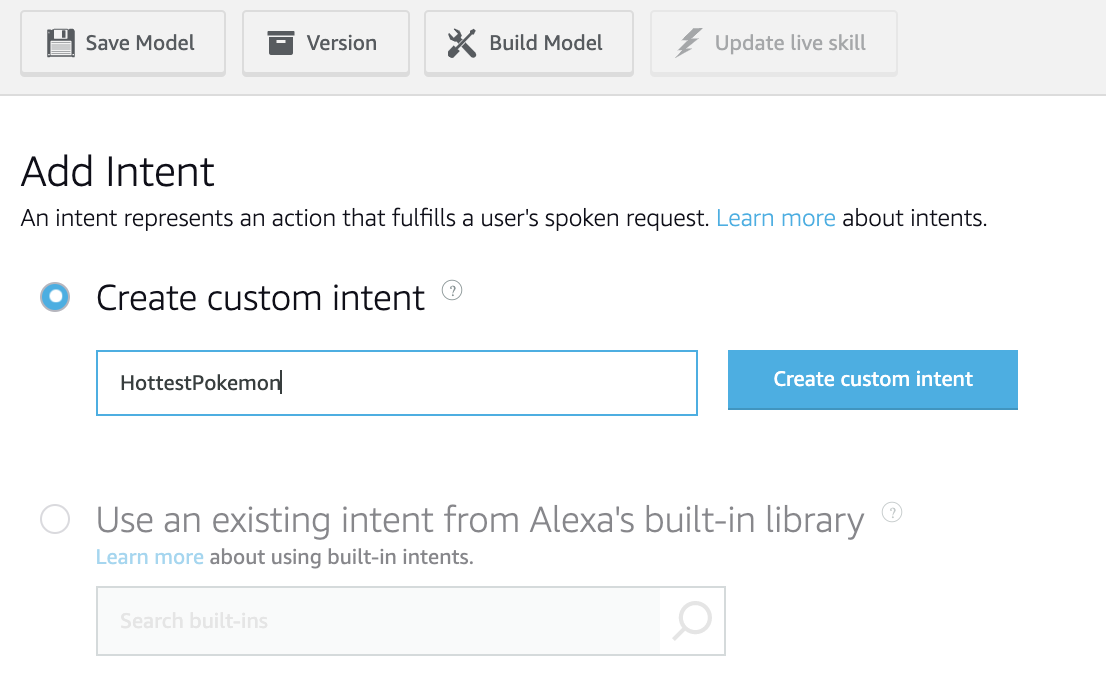
Utterance
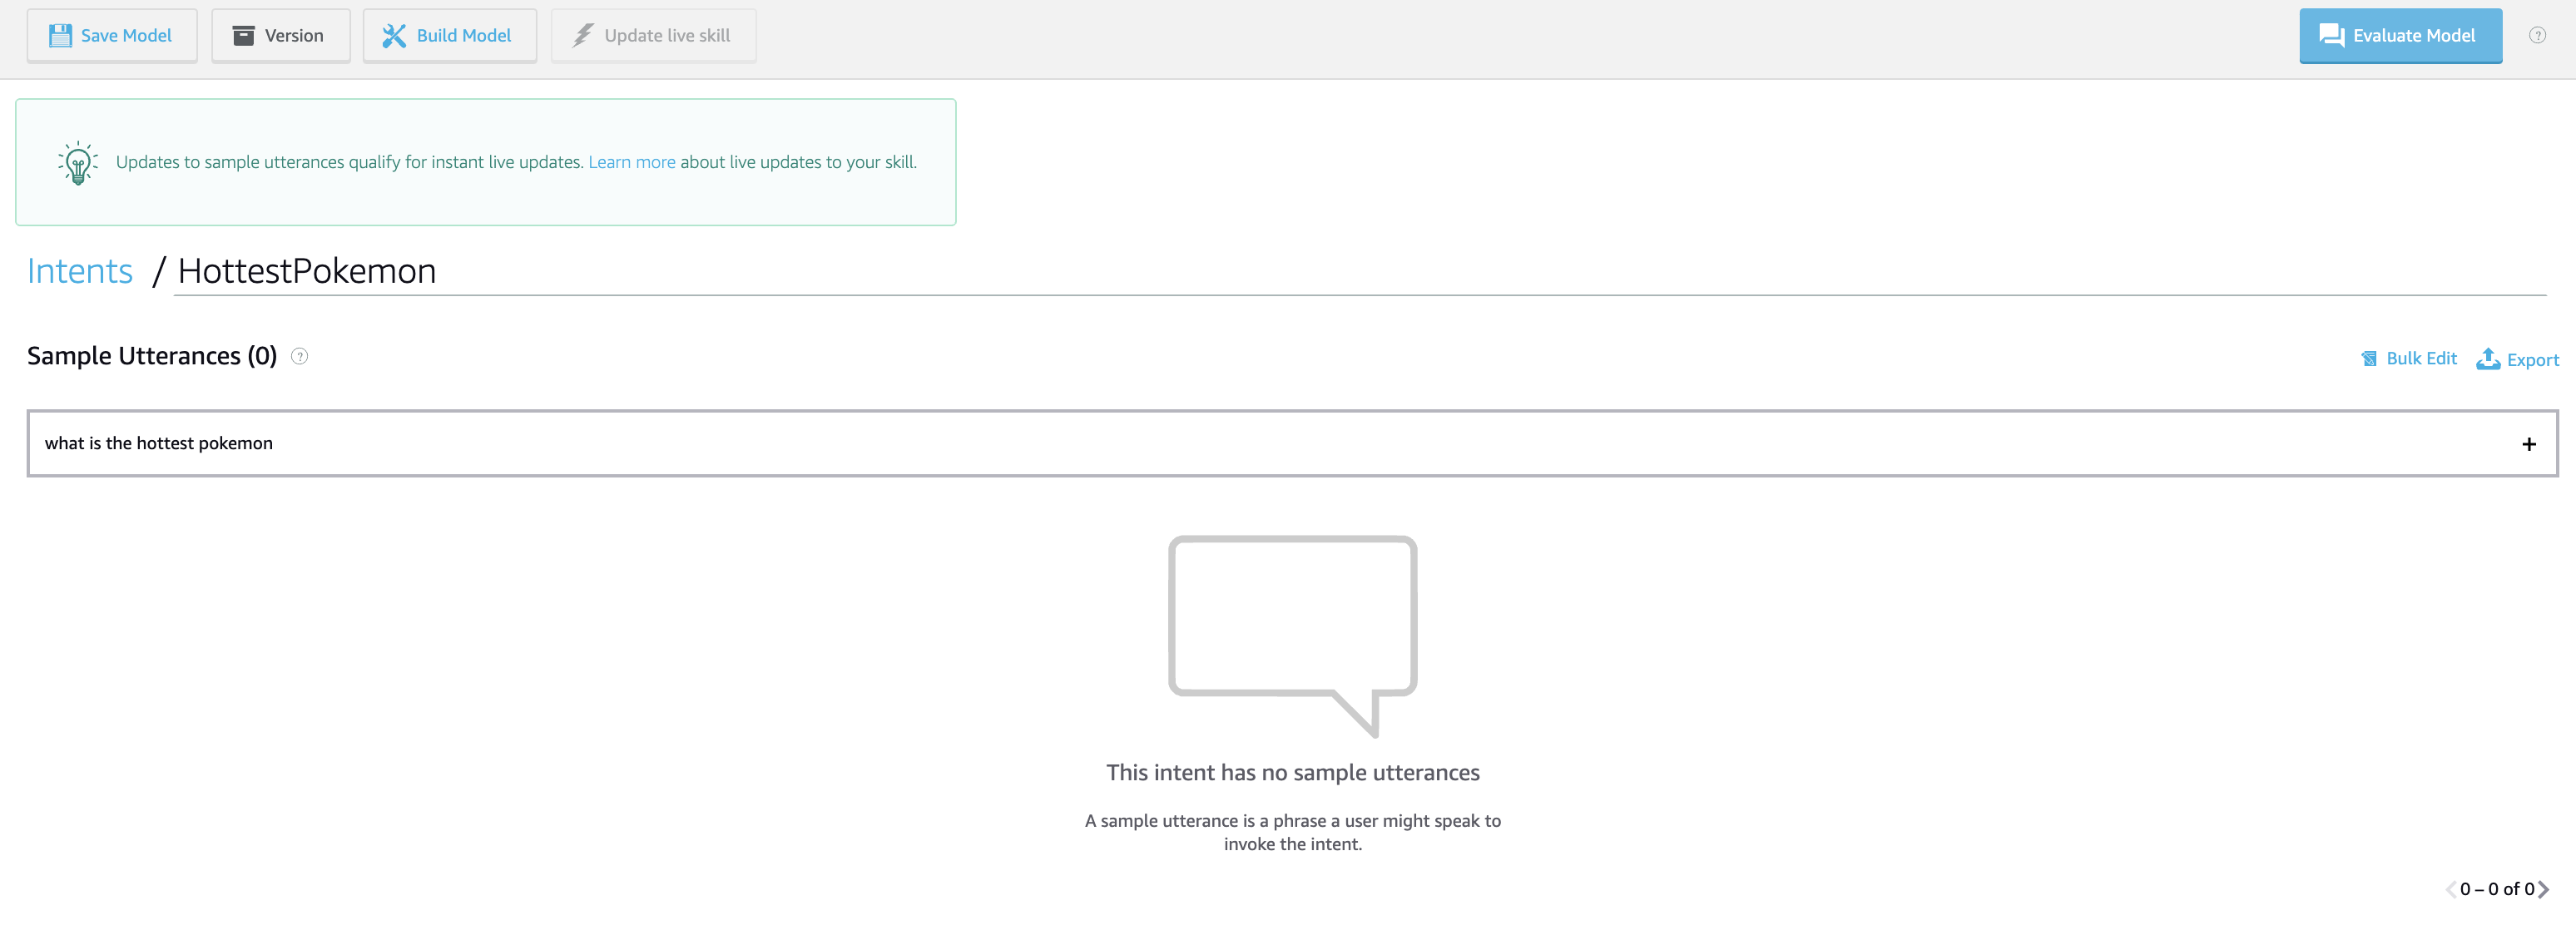
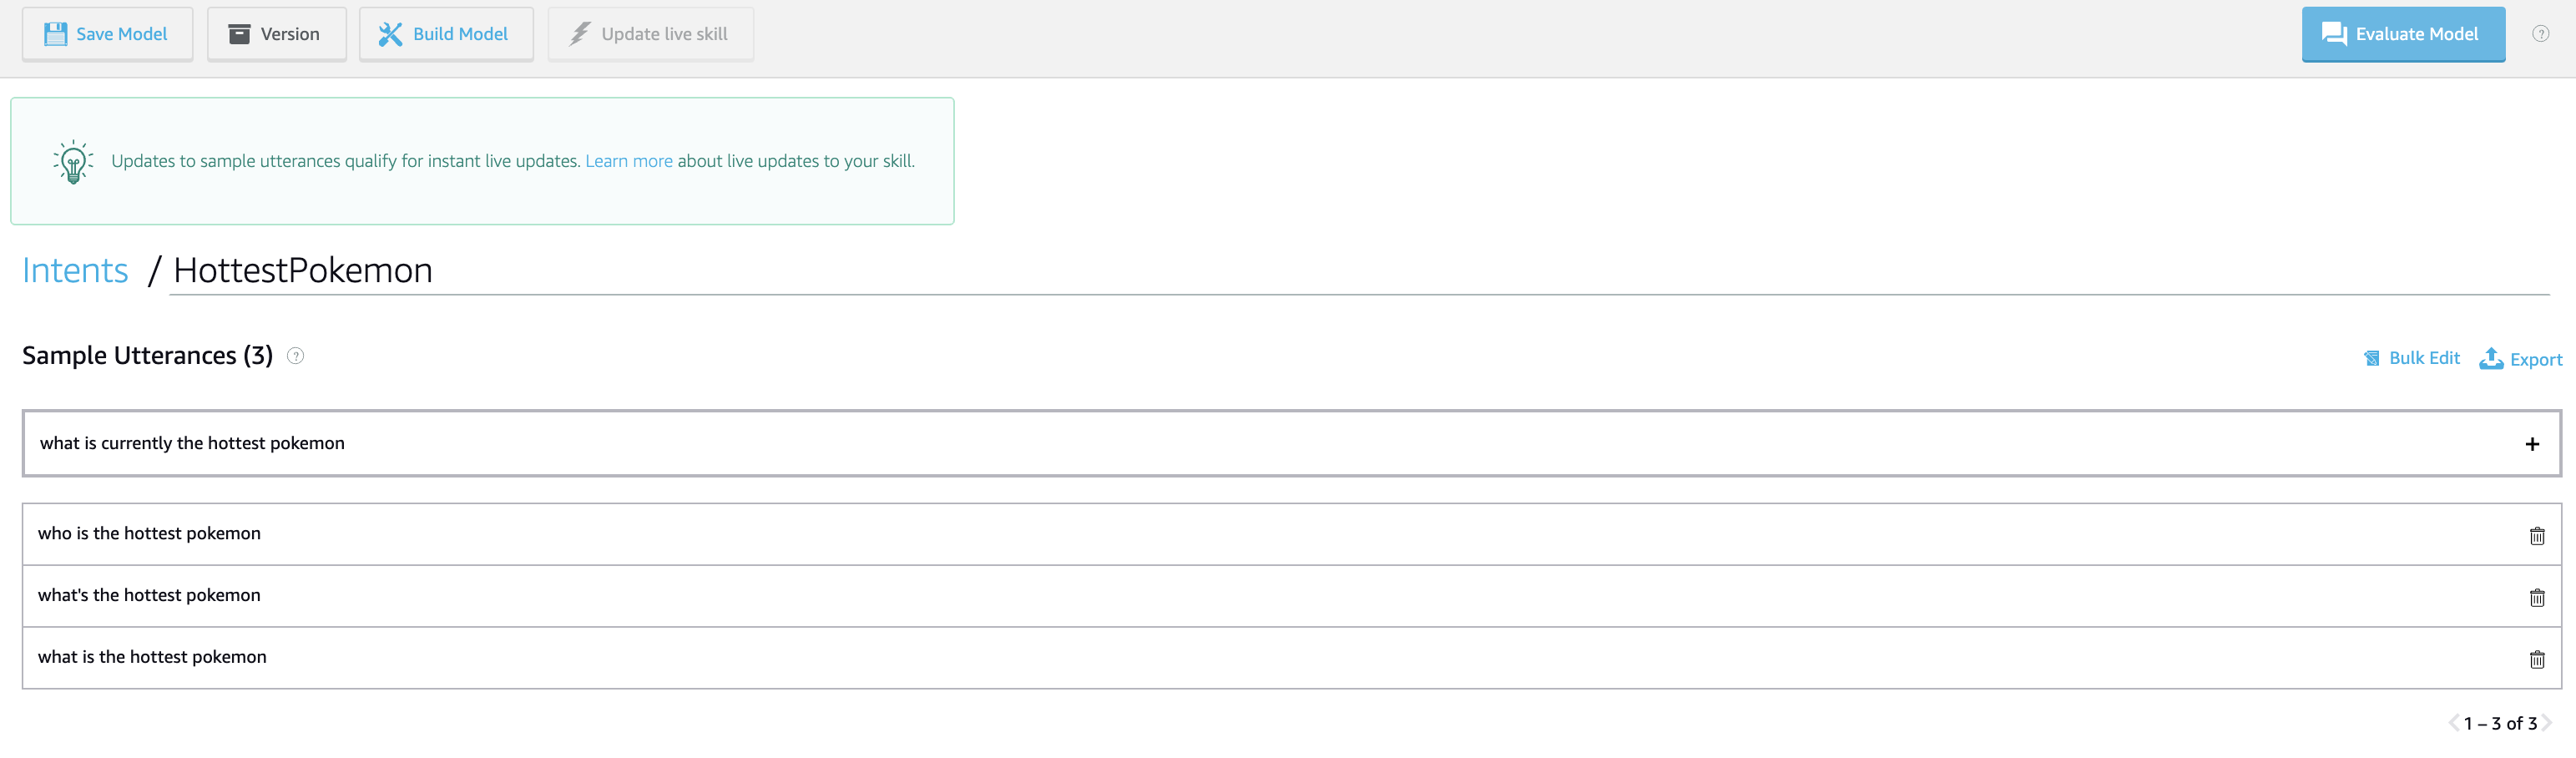
An utterance is a user’s spoken request. When adding an utterance think of all the possible questions a user will ask for the intent. One user might say what is the hottest pokemon? while another would ask what’s the hottest pokemon? or even who is the hottest pokemon?. Taking the time to map out these questions will greatly improve your skill and user experience. At this point, our skill doesn’t have an utterance so let’s add some. Hitting “Enter” will automatically add the utterance.
List of Utterances
Let’s pause the skill configuration for a second. Breaks are important so let’s take a small one and pat ourselves on the back.
Setting up your application to talk with Alexa
Let’s set up our application to handle Alexa’s requests. For this section, we’re going to assume you have a Rails API available.
Create a new controller for requests from Alexa.
rails generate controller api/alexa/handlers create
Alexa will hit our server with POST requests. These requests will contain data, like an access token, Intent name, etc. To get these requests, let’s create a new controller. I like to namespace mine, so I opt for api/alexa/handlers_controller.rb
In this controller, you’ll note that I return an odd piece of JSON. A lot of this is the boilerplate you need for Amazon. The most important part is the “outputSpeech” section. Here is the documentation to learn more about responses and requests from Amazon. For now, we’ll stub out a simple response “Hello from Pokemon Hot!”
class Api::Alexa::HandlersController < ActionController::Base
  def create
    message = "hello from Pokemon Hot!"
    session_attributes = {"previous_session": "something"}
    session_end = true
render json: {
      "response": {
        "outputSpeech": {
          "type": "PlainText",
          "text": message,
        },
        "shouldEndSession": session_end
      },
      "sessionAttributes": session_attributes
    }
  end
end
and update your routes file
#config/routes.rb
  namespace :api do
    namespace :alexa do
      resource :handlers, only: [:create]
    end
  end
Once you’re finished make sure to restart your Rails server.
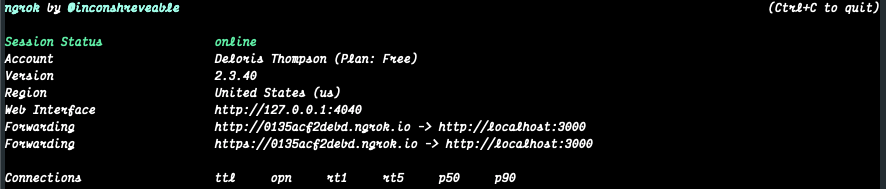
Install ngrok for SSL locally
ngrok will host a local version of our app, and allow Amazon servers to speak to it. Amazon requires our server to have SSL. We don’t want to host a Heroku SSL instance simply for testing, so ngrok will work perfectly.
brew update
brew cask install ngrok
After installing ngrok, set it to run on whatever port you’re running your Rails server on. In our case, it’s good ol’ port 3000.
ngrok http 3000
There is one final step for ngrok. We need to let our rails application know we want to use it as our host. Open application.rb under your config directory and add
config.hosts << "0135acf2debd.ngrok.io"
Do you see that HTTPS link above? That is what we’ll tell Alexa to communicate with.
Get Alexa to talk to us
Now that we have:
- ngrok tunneling our application to HTTPS
- we have our controller and route
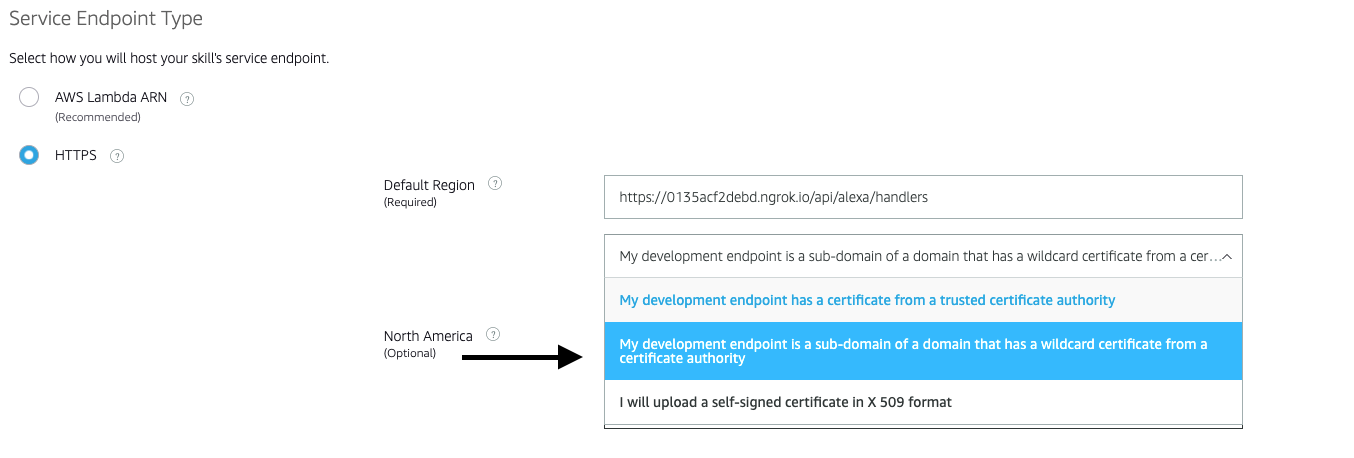
Let’s point Alexa at our application. Go to the Alexa skill you created earlier, click on “Endpoint” in the left sidebar. The default setting is AWS Lambda ARN, let’s change it to HTTPS and paste in the HTTPS link from ngrok, including the route we created Ex:
https://0135acf2debd.ngrok.io/api/alexa/handlers. We also need to let Alexa know we are providing our own certificate. Since we are only testing we can use ngrok to handle our SSL certification. Select My development endpoint is a sub-domain of a domain that has a wildcard certificate from a certificate authority and click "Save Endpoints":
It’s testing time!!!
Go to the “Test” tab in your Alexa skill. Testing is automatically turned off.
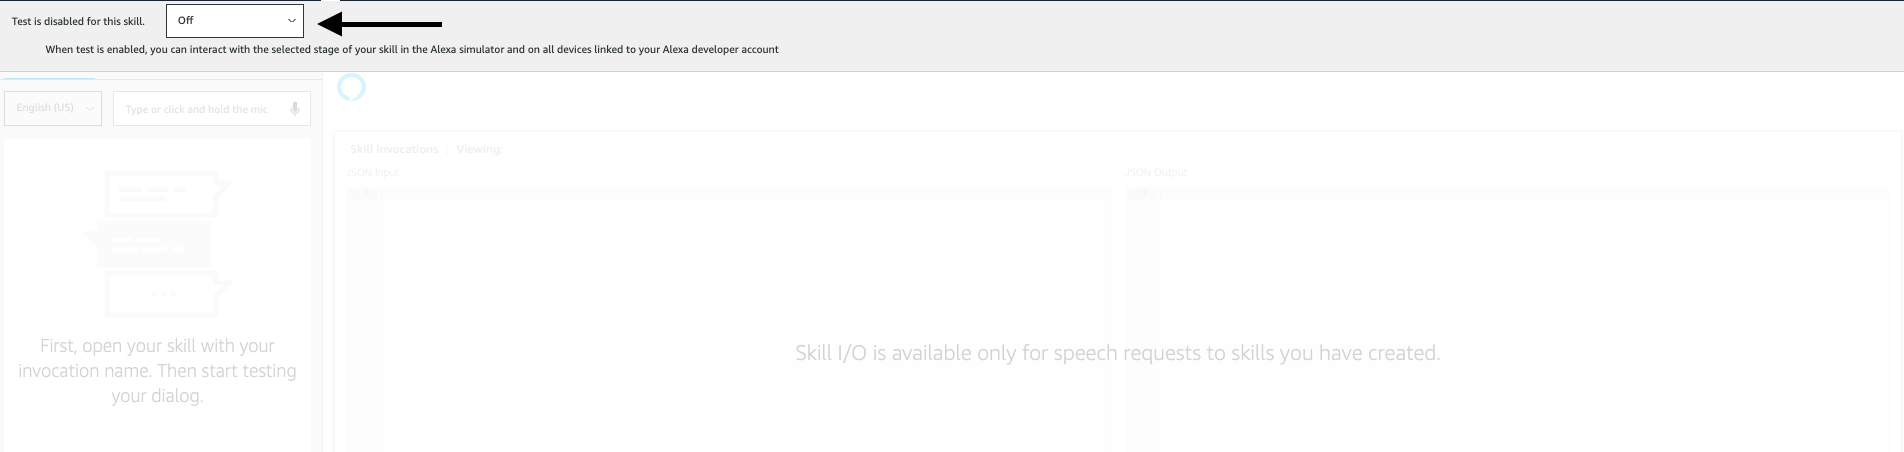
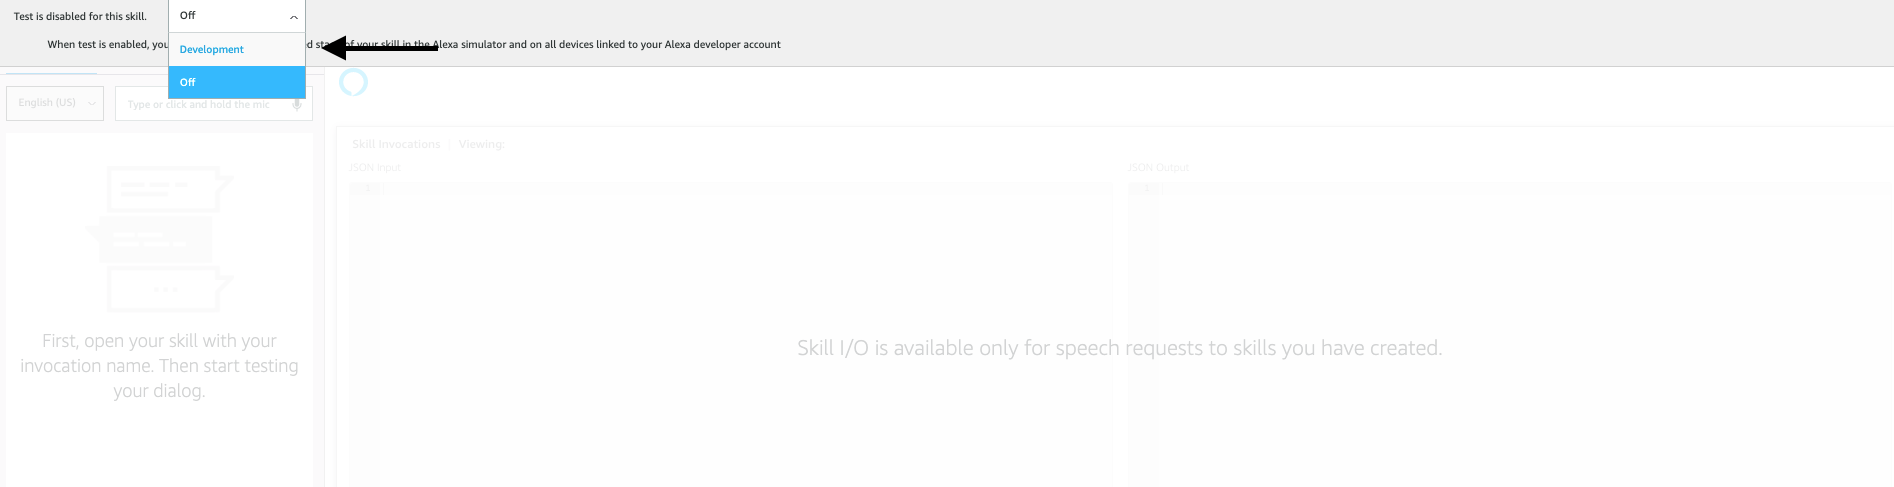
We can enable Development mode from the drop-down.
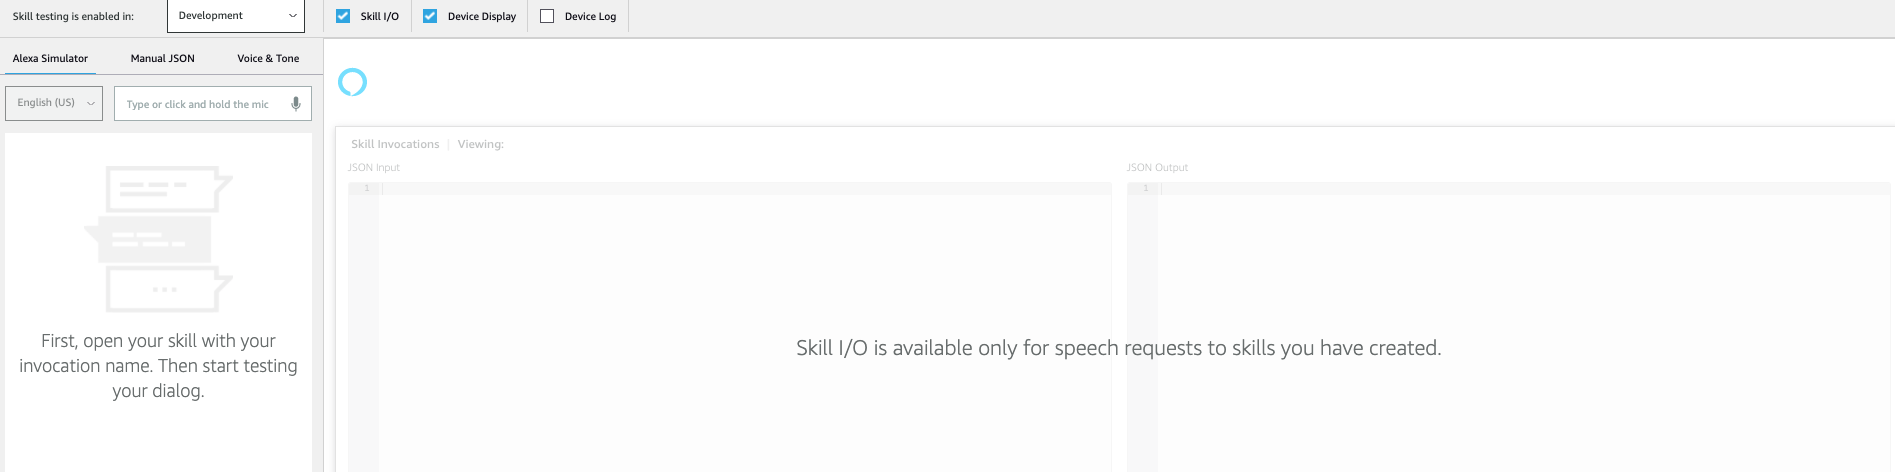
Now we can test our skill!!
Type in your invocation name. You should see output similar to below:
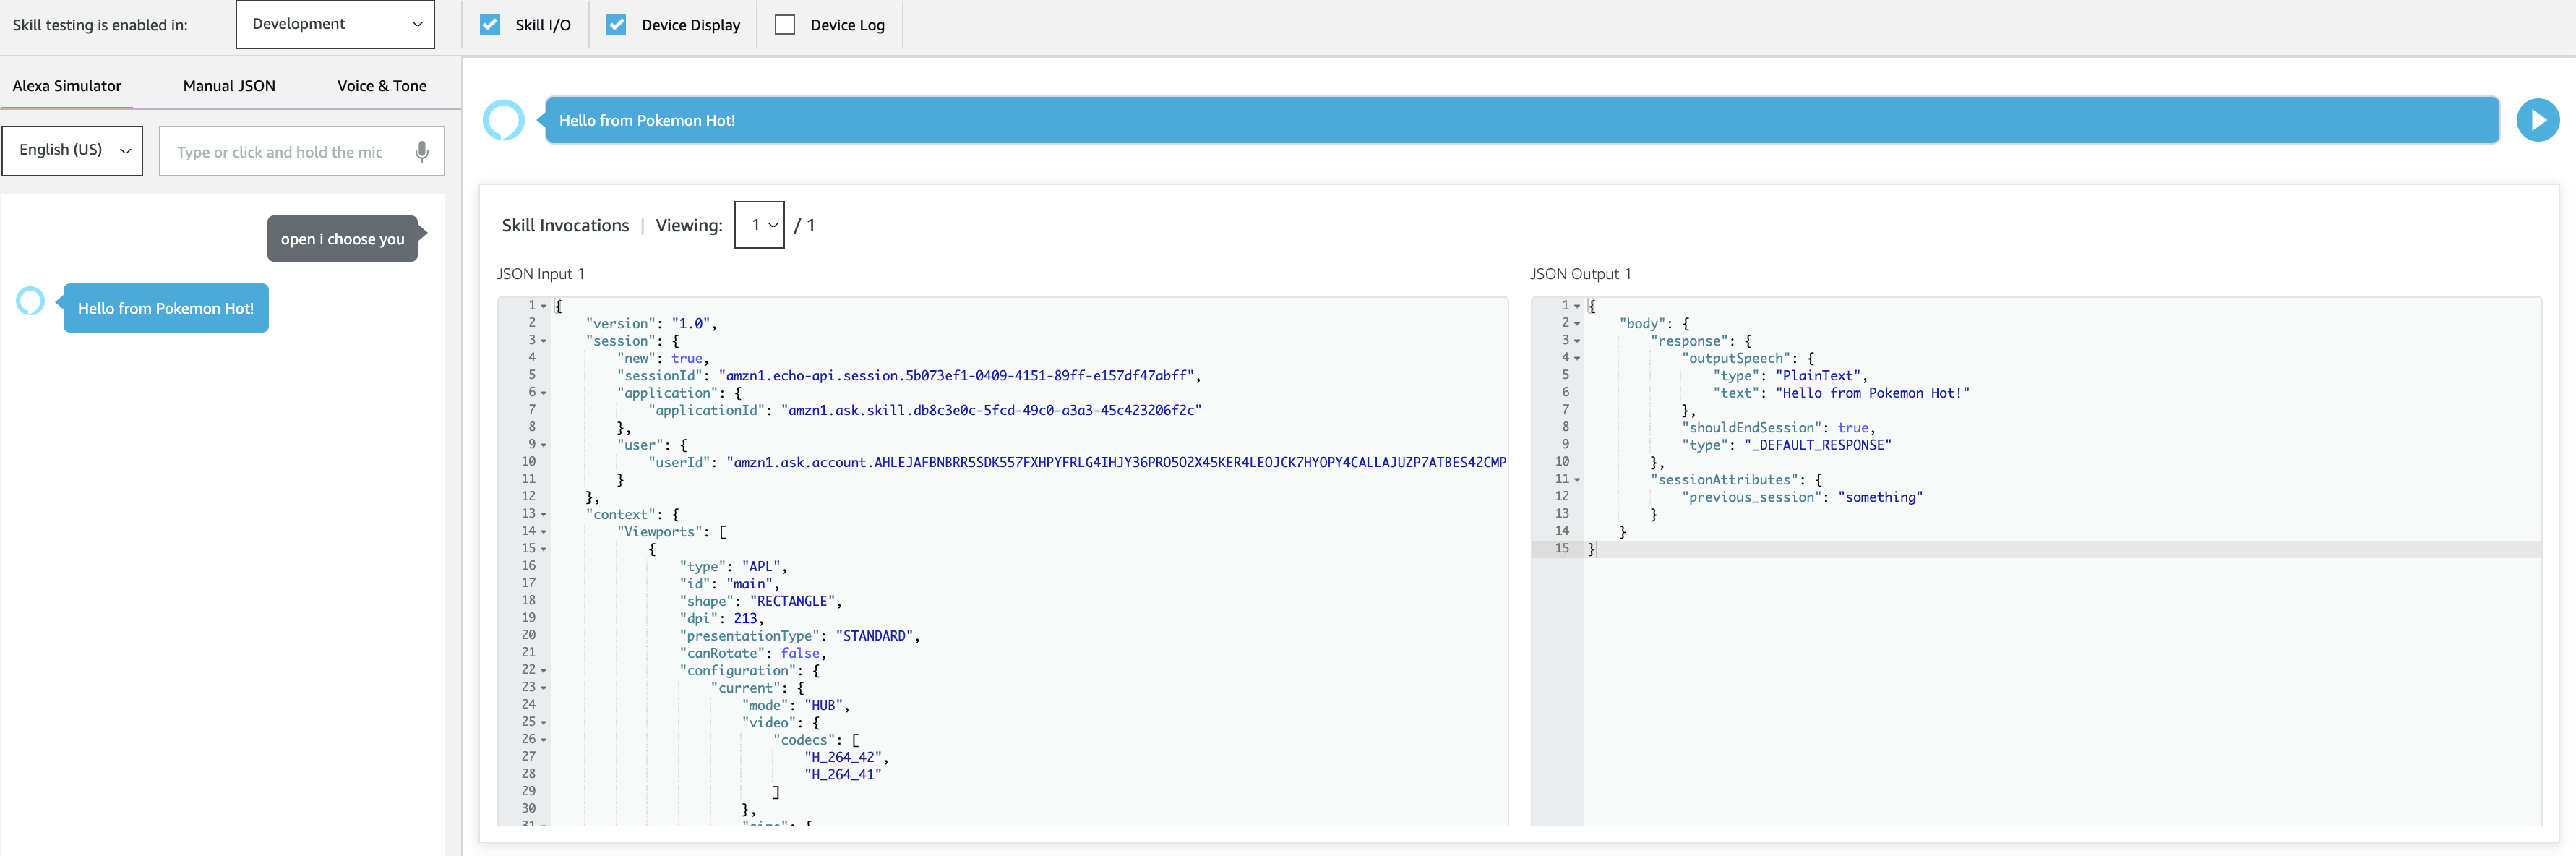
Great Job! You see we got a response back from our API. This post just skims Alexa skills. There are other features like slot values and more.